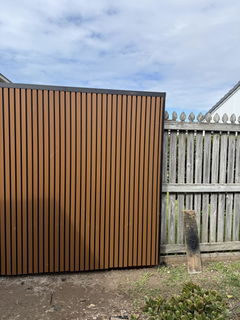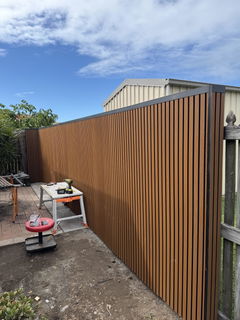



Horizontal Cladding Wpc Post and Accessories
Horizontal Cladding Wpc Post and Accessories


Couldn't load pickup availability
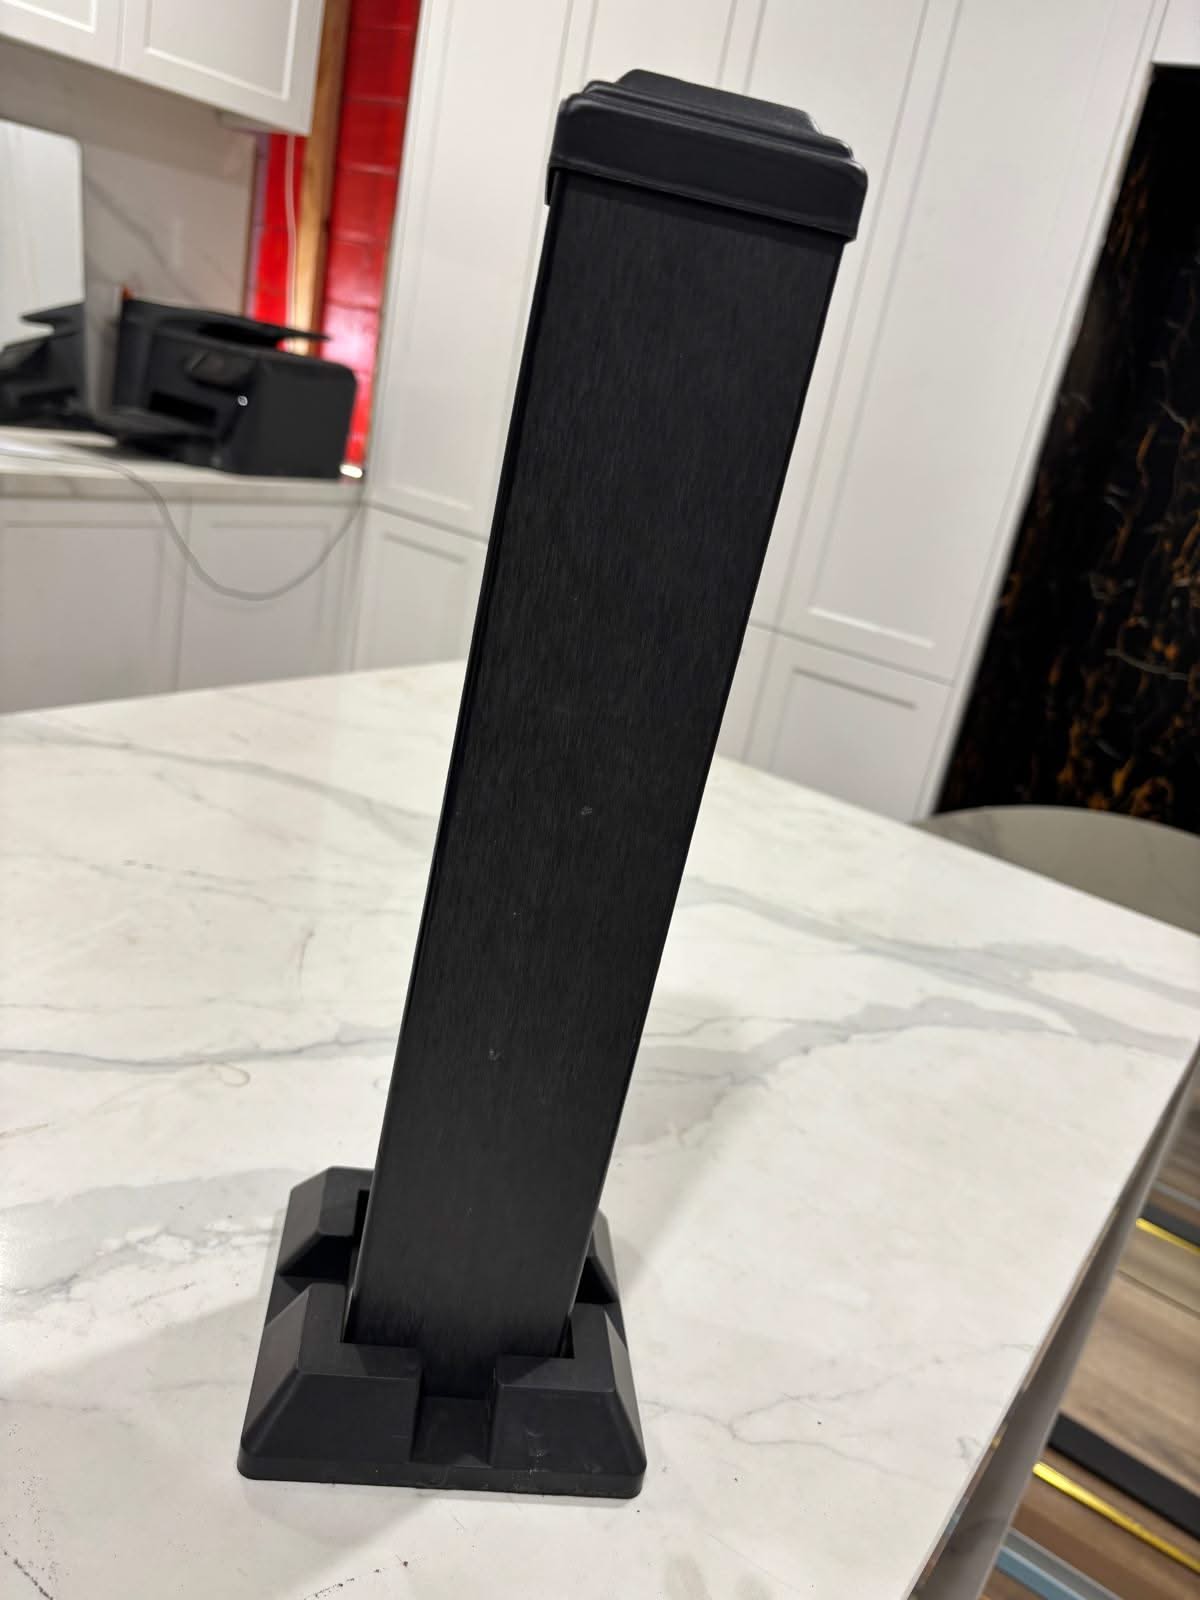
Wpc Post
Measurements and Specifications:
- Size: 80*80*3000MM
- Color: BLACK
WPC Post (Wood Plastic Composite Post) is a durable, low-maintenance structural post designed for fencing, decking, and railing systems. Made from a blend of wood fibers and recycled plastic, it offers the natural appearance of wood with enhanced resistance to moisture, rot, insects, and weathering. WPC posts do not splinter, crack, or require regular painting, making them a long-lasting and eco-friendly solution for outdoor applications.
System Components
Every part of the horizontal post and panel system — what each component does and why it's essential for a professional, finished installation
1. WPC Square Post — 3M
POST-3M-BLK
The structural backbone of the entire system. A hollow WPC composite square post that supports the horizontal cladding panels, defines spacing and provides the vertical frame for corners, straight runs and feature walls.
· - Length: 3,000mm (can be cut to height)
· - Profile: Square hollow section
· - Material: WPC — weatherproof composite
· - Colour: Deep matte black
· - Routed channels on all 4 sides for panel slots
· - Can be surface mounted OR ground buried
· - Suitable for fencing, screening, corners
02. Steel Base Plate & Dynabolt Kit
BASE-PLT-KIT
A heavy-duty steel base plate that bolts to existing concrete, pavers or footings using supplied dynabolts (concrete anchors). The post slots into the base plate and is secured firmly — no digging required for hard surface installations.
· - Steel plate with 4 anchor bolt holes
· - Dynabolt (concrete anchor) included per post
· - Suits installation on concrete slabs
· - Suits installation on paved areas
· - Post slides over plate and fixes with bolts
· - Powder coated black to blend with post
· - Alternative: post can be buried in concrete footing
03 Post Top Cap
CAP-TOP-BLK
A decorative square cap that fits over the top of each post to seal the hollow post section, prevent water entry and give a clean, finished appearance. Essential for a professional result — open post tops look unfinished and collect debris and moisture.
· - Fits snugly over post top opening
· - WPC or polymer composite material
· - Matte black to match posts
· - Raised profile for decorative finish
· - Press-fit — no screws or adhesive needed
· - Prevents water ingress into hollow post
04 Post Base Skirt / Collar
SKIRT-BASE-BLK
A decorative square collar that fits around the base of the post where it meets the base plate or ground level. Hides the steel base plate, any ground-level fixing hardware and the post-to-footing junction — giving a seamless, architectural look from base to top.
· - Fits over post at base level
· - Covers steel base plate completely
· - Hides dynabolt hardware
· -Wider profile than post for stepped base look
· -Matte black to match posts
· - Slide-on fit — no adhesive required
05 WPC Horizontal Cladding Panels
PANEL-HORIZ
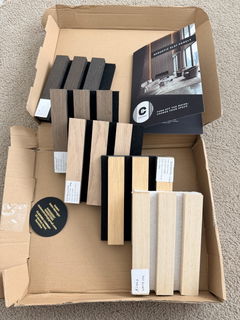
The horizontal slat panels that slot into the routed channels of the posts. Available in multiple lengths, colours and profiles. Panels simply slide horizontally into the post channels — no face screws, no clips, completely concealed fixing for a pure, clean horizontal line result.
· - Available in 2.4M, 3.6M and 5.8M lengths
· - Multiple colours: Black, Charcoal, Teak, Grey, White
· - Slide into post channel — zero face fixing
· - 4 slat profile — premium timber-look finish
· - WPC — weatherproof, UV stable, rot proof
· - Cut to any length with circular saw
06 90° Corner Post Configuration
POST-CORNER-90
The same 3M post used at a 90° turn — panels feed into channels on two adjacent faces of the post simultaneously, allowing the horizontal cladding run to turn a right-angle corner seamlessly with no exposed panel ends and no additional corner trim required.
· - Same post — two faces used simultaneously
· - Panels from Wall 1 enter one channel
· - Panels from Wall 2 enter adjacent channel
· - No separate corner trim needed
· - Clean 90° visual result from all angles
· -Works for internal and external corners
Tools & Materials Required
Everything you need on site before starting. Having the right tools ready before installation begins prevents delays and frustration mid-job
|
Item |
Specification |
Required |
Notes |
|
Hammer drill |
SDS or keyed chuck, 700W+ |
Required |
For dynabolt holes in concrete. Standard drill is not sufficient. |
|
Masonry drill bit |
Match dynabolt diameter (10 or 12mm) |
Required |
Check dynabolt size in your kit before purchasing bit. |
|
Circular saw or drop saw |
185mm blade, fine-tooth timber blade |
Required |
For cutting posts and panels to length. WPC cuts like timber. |
|
Spirit level — long |
1.2M or longer preferred |
Required |
Critical for plumbing posts and levelling panel rows. |
|
Spanner / socket set |
Match dynabolt nut size |
Required |
For tightening dynabolt nuts to correct torque. |
|
Tape measure |
5M or longer |
Required |
For marking post centres and panel spacing. |
|
String line + stakes |
20M+ builder's string |
Required |
Essential for aligning posts in straight line. |
|
Pencil / chalk marker |
Any |
Required |
For marking drill holes and cut lines. |
|
Post hole digger or auger |
150–200mm diameter |
If burying posts |
Not needed for base plate surface mount method. |
|
Rapid set concrete |
20kg bags (1 per buried post) |
If burying posts |
Not needed for surface mount method. |
|
Masking tape |
Any |
Recommended |
Apply along cut lines on panels for chip-free cuts. |
|
Spacer block |
Cut timber to gap size (e.g. 15mm) |
Recommended |
For consistent panel spacing. Make your own from offcuts. |
|
Construction adhesive |
Exterior grade (Sika or Bostik) |
Optional |
For permanently fixing top caps in exposed/windy locations. |
|
Cable/pipe detector |
Any consumer grade |
Strongly advised |
Before drilling or digging near buildings or garden edges. |
|
Safety glasses + hearing protection |
AS/NZS compliant |
Required |
For all drilling and cutting operations. |
🛠️ Installing Guide
Installation Diagram
System Confirguration
Installation FAQ
The most common questions about the horizontal post and panel system.
Can I install this system myself or do I need a professional?
- Yes — this is a confident DIY project for anyone comfortable using a drill, circular saw and spirit level. The panel-to-post connection requires no special skills — panels simply slide into channels. The most critical part is getting posts plumb and aligned, which requires patience but no trade expertise. Allow a full day for a first-time installer doing a single panel run. Professional installation is also available through Clads — call 0416 292 287 for a quote.
Does the post come in colours other than black?
- Currently our posts are available in deep matte black, which pairs with all our cladding colours. Black posts with contrasting light panels (white or grey) create a dramatic, high-contrast look. Black posts with black or charcoal panels create a seamless, monochromatic result. Additional colours may become available — call us for current stock.
What is the maximum span between posts?
- The maximum post spacing equals your panel length — 2.4M, 3.6M or 5.8M depending on which panels you choose. We do not recommend spanning beyond the panel length as this leaves panel ends unsupported and they may deflect or bow under wind load. For maximum span, choose 5.8M panels with posts 5.8M apart — this creates a dramatic, near-seamless horizontal run with very few posts.
How high can I build with this system?
- The 3M post gives you up to approximately 2.4M of visible height above ground (allowing for base plate height and top cap). For taller installations, contact us — we can advise on structural requirements for heights above 2.1M including additional bracing requirements. Note that many councils require permits for fences or screens above 2.1M — check with your local council before proceeding with taller installations.
Can panels be removed once installed?
- Yes — this is one of the great advantages of the channel system. Panels are not permanently fixed. To remove a panel, simply slide it out of the post channels horizontally. This means individual damaged panels can be replaced without disturbing adjacent panels or posts. It also means you can disassemble and relocate the entire system if you move house — unlike poured concrete fencing which is permanent.
Is this system suitable for pool fencing?
- WPC is excellent for pool environments — it will not rust, rot or corrode in humid, chlorinated conditions. However, for pool fencing in Australia, there are strict compliance requirements under AS1926 regarding gap sizes, height and non-climbability. Open-slat configurations may not comply with pool fencing regulations depending on gap size and panel height. Always check your local council requirements and consult a licensed pool fence inspector before installing near a pool area.
What maintenance does the system need?
- Almost none. An annual hose-down removes dust and environmental buildup. For stubborn marks, use mild soapy water and a soft brush. No painting, staining, oiling or sealing is ever required. The WPC material is colour-stable for 10+ years under direct UV. The steel base plates are powder coated for corrosion resistance — inspect annually and touch up any scratches with rust-converter primer if they occur.